Introduction
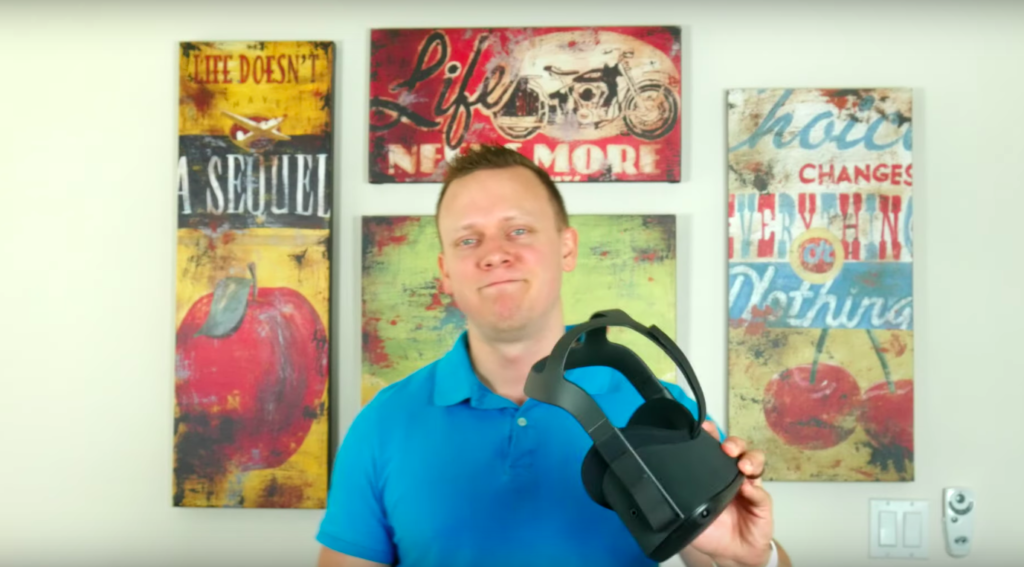
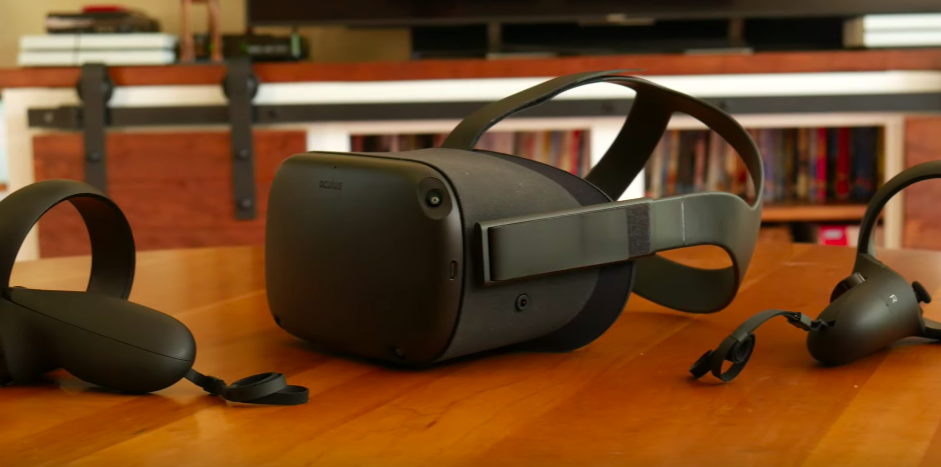
A few weeks ago, I had my 30th birthday, the same day the Oculus Quest was released, and my beautiful wife bought it for me. This is my two month review of the best Standalone VR Headset ever released. No tethering to a high-end PC is required for you to enjoy VR gaming, but is it worth the sacrifices? Let’s find out!
Cost
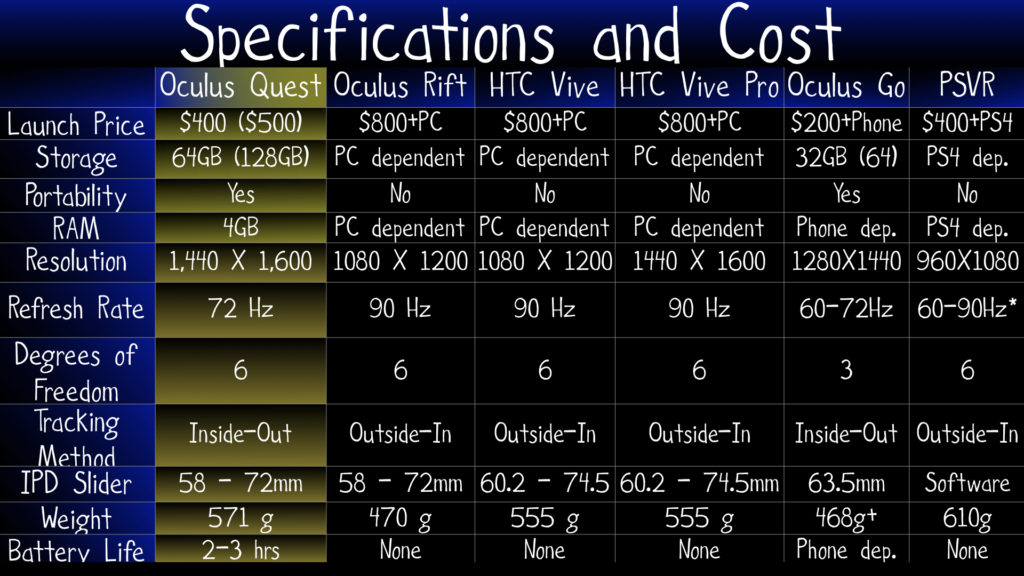
The cost for the VR Headset is either $400 for the 64GB version or $500 for the 128GB version. These prices get you controllers and a charging cable, everything you need to start gaming in VR. Current games aren’t that large at around one to two Gigabytes, so I recommend saving $100 and sticking with the 64GB version for $400. Compared to the Oculus Rift’s launch price of $600 plus $200 extra for controllers and the $800 launch price for the HTC Vive, $400 doesn’t seem so bad.
Requirements
Unlike the Oculus Rift and HTC Vive, you don’t need to plug the headset into a high end gaming PC. That’s right. No expensive computer is required if you aren’t a PC gamer; No cable is required for you to trip on, and no Windows operating system is required if you prefer to use other operating systems on your computer like Mac or Ubuntu.
Hardware
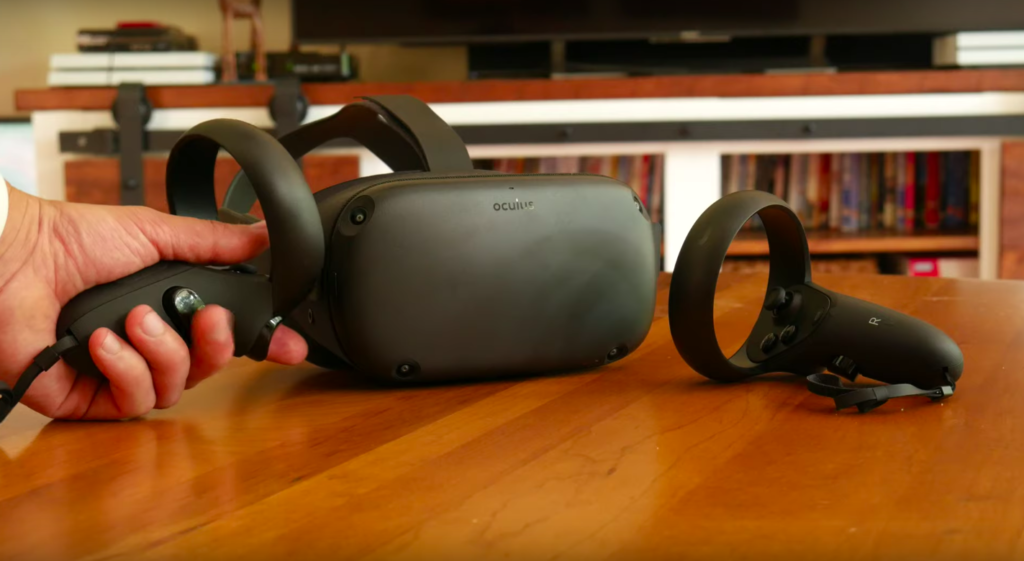
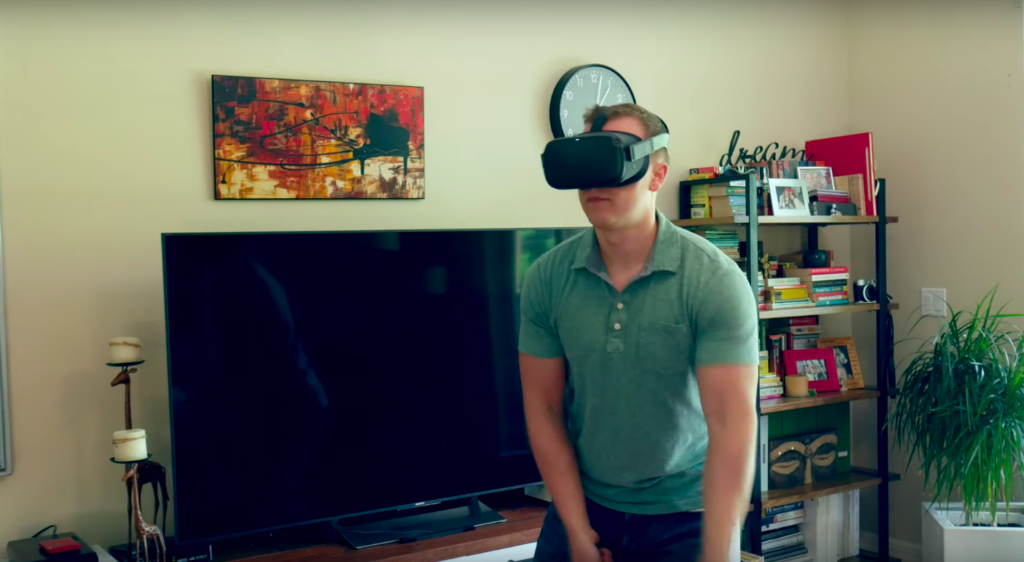
Regarding the hardware and as I said before, both the 64GB or 128GB storage options for the Oculus Quest are enough space for games in my opinion. It is powered by 4GB of RAM, and the two-year-old Snapdragon 835 mobile processor. Each OLED lens produces 1,440 by 1,600 resolution at 72 Hz refresh rate. The headset offers six degrees of freedom using inside-out tracking from four sensors on the headset itself. The headset comes with a power button, a volume rocker, an interpupilary distance (IPD) slider, and a USB-C port for charging. The IPD slider can adjust from 58 to 72mm. The quest feels premium with fabric accents. It weighs 571 grams vs the 470 grams from the Oculus Rift, and it’s battery lasts 2 to 3 hours on a charge. The controllers track great! They not only tracks your hands like on the HTV Vive and Playstation Move controllers, but they track your fingers as well. It even has capacitive buttons.
Tracking
For the most part, the inside-out tracking is perfect. It is way better than the PSVR, which required me to sit a certain distance from the camera. It doesn’t require any lightboxes or sensors that you have to plug into an outlet or your computer like on the HTC Vive and Oculus Rift. It just works! That said, if the sun is shining brightly into a section of the room, the tracking will become jerky and you might lose tracking. It’s probably a good idea to close the blinds before playing.
Portability
The Quest is in my opinion the best thing to happen to VR gaming since the Oculus Rift and HTC Vive were released. This is because of portability. One can’t simply watch an ad to experience what VR is, you have to put the headset on and try it first hand to know what it is. That’s hard to do when the headset is hooked up to a computer or PS4. The Quest is increasingly an attractive option because you can bring it anyyyywhere and show it to anyone. Instead of being confined to wherever you have your Vive set up, you can bring the Quest into a living room, the bedroom, another home, the office, or anywhere else. This portability should increase the adoption and success of VR, and the more successful VR is, the more developers will make high quality games for it.
Games
Speaking of games, the Oculus Quest launched with more than 50 titles, but the number of games still feels lacking right now when compared to SteamVR and PSVR; that said, that’s how I feel when any new gaming system launches.
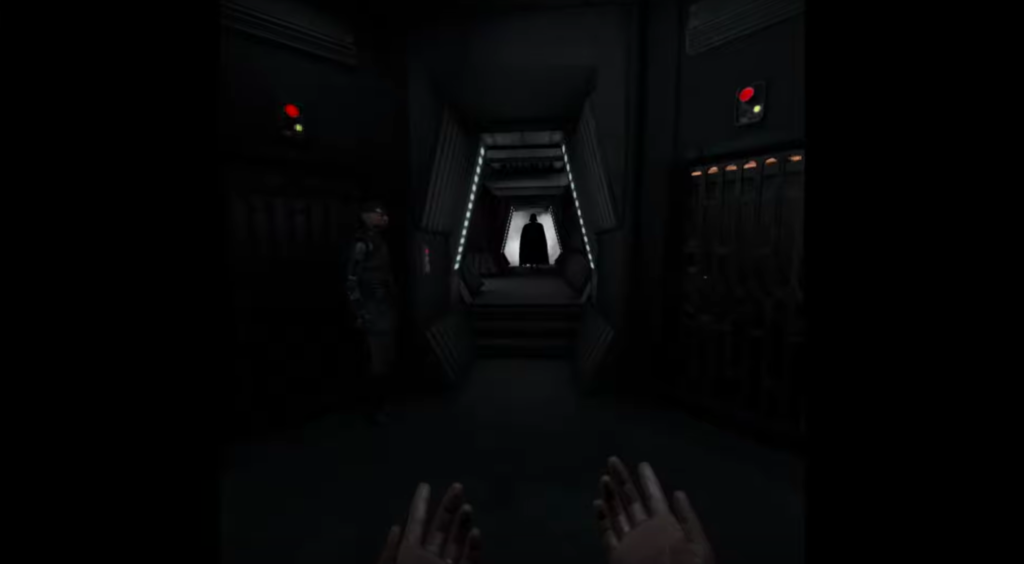
One game I found really fun was Vader Immortal. It’s not just a great VR game, and it’s not just a great Star Wars game. It is a great game! I felt like I was experiencing this world. I could almost smell the smoke when seeing Darth Vader for the first time. I couldn’t believe how close they got the voice to sound just like James Earl Jones; very high quality and very well done. The lightsaber battles were fun and challenging. There was just the right amount of it too, as it didn’t get repetitive. My only complaint is that many VR games right now are asking players to turn dials, push buttons, etc. That is starting to feel repetitive, even in Vader Immortal.
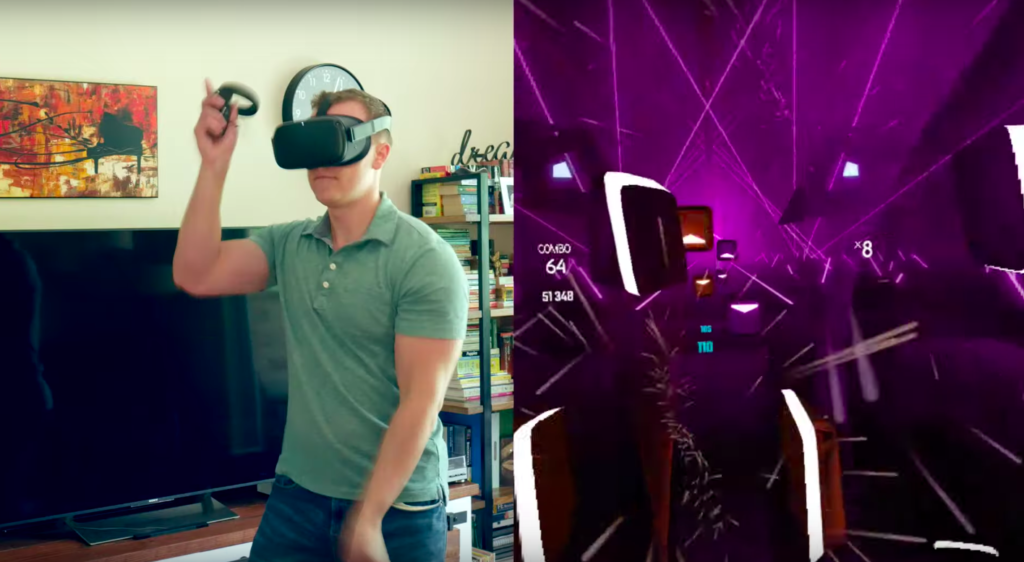
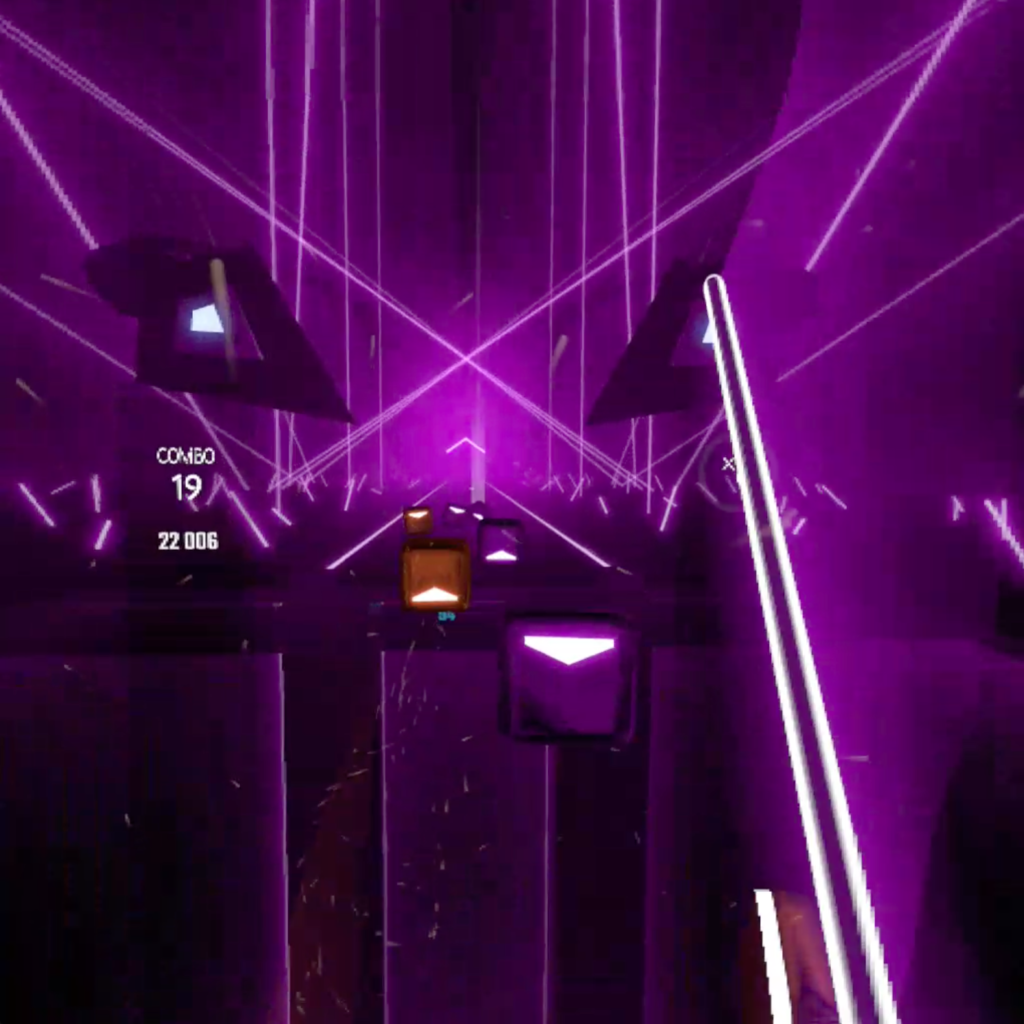
Another great game on the Oculus Quest is Beat Saber, and it is just as epic as usual. This game is like Guitar Hero and Rockband in VR, but instead of guitars, it has light sabers! It has you slicing through blocks to music. After playing custom songs on the HTC Vive, playing the limited number of stock songs on the Oculus Quest felt a little lacking. Luckily, many modding apps are making it easier each day to add new custom songs to Beat Saber on the Oculus Quest. There are various apps to do this, like SideQuest and Oculus Quest Beat Saber Song Installer. Although there are many tutorials available currently for how to do this, I, myself, am going to wait until custom songs are integrated into the official build of Beat Saber.
Anyways, I just wish I had a larger room to take full advantage of room scale. Room scale allows for rooms up to 25ft by 25 ft. That is insanely awesome! I don’t even have enough space for the recommended 6.5ft by 6.5ft. Luckily, you can still play games inside your barrier; it will even warn you when you get close to the edge. That way, you won’t punch a wall. Now if only they could prevent me from stepping on the dog.
Specs / Good Enough?
So are the Specs good enough? To me, I care about:
- Screen-Door-Effect
- Aliasing / Text Readability
- God-Rays
- The quality of the games
Screen Door Effect, or SDE, is the effect of your eyes being so close to the pixels on the display that you can see the gap between each pixel. As a result, the image looks like you looking through a screen door. One way to counter this is to increase the resolution of the display. The Oculus Quest has a higher resolution of 1440X1600 per eye than the Oculus Rift and HTC Vive. Therefore, SDE is reduced. That said, resolution isn’t everything. The Playstation VR headset’s lower 960X1080 resolution per eye provides the best or least SDE. This is because Sony increased the subpixel count for each pixel in their RGB display. The increased subpixel count helps each pixel blend together better reducing the screen door effect. All this said, the Oculus Quest’s SDE is better than the Oculus Riftand HTC Vive but not as good as the PSVR headset.
Aliasing, Anti-aliasing, and text-readability all have to do with the graphical power and game design. Playing VR games using the graphical power of a PC will obviously have more anti-alliasing than that of a mobile phone processor. Therefore, in theory, text and lines in games will not be as clear on the Oculus Quest. That said, when the HTC Vive and Oculus Rift were first released for the PC, many games used small text that was barely readable. Since then, game developers have increased text size in VR games, making the text much easier to read. So the text readability on the Oculus Quest is perfectly fine. As far as aliasing and jaggies on the Oculus Quest, they are worse than the HTC Vive and Oculus Rift, but you won’t notice them unless you do a side-by-side comparison. Games can also be supersampled on the HTC Vive and Oculus Quest to sharpen text and remove jaggies even further; some say supersampling even helps hide some of the screen door effect. The Quest doesn’t have enough power to supersample.
God-rays are like blurry lens flares when bright objects are juxtaposed against dark backgrounds. They were really bad on the Oculus Rift. They were reason why I sold my Oculus Rift. I couldn’t stand them. They are still present on the Oculus Quest, but they are not nearly as distracting like they were on the Oculus Rift. I’d say they are comparable to the God-Rays on the HTC Vive and PSVR.
That leads me to game-quality – The game quality in the Oculus Quest is top notch. I think Oculus ported over only the very best VR games that existed on PC. Therefore, if Oculus had to sacrifice some graphical power in order to make the VR experience portable and more convenient, then it is just fine to me as long as the games are fun. And there is a huge benefit to an almost instant access to games without having to plug everything into the computer, and launching the game from the computer. The Oculus Quest is a much more user-friendly VR experience than anything I’ve used before. Take the PSVR for instance. My PS4 sits on my tv unit on the other side of the living room from my couch, and the cable that connected the headset didn’t reach far enough. So I had to move the PS4 to the coffee table in the center of the living room. And then I realized that the PS4 camera required me to sit closer too. So I had to move the PS4 camera to the Coffee Table too. My wife was not happy. Long story short, I returned the PSVR.


ALVR and VRidge
What if Oculus Quest doesn’t have the game I want to play? What if I am not happy with the graphics quality on Oculus Quest? ALVR and VRidge give you the ability to play Steam VR and Rift games wirelessly through your computer!!! Of course, this requires you to have a high-end gaming pc with a high-end graphics card and a very fast 5GHz reliable Wifi connection. The good news is that Vridge when used with the Oculus Quest supports 6 degrees of freedom! Woop! The bad news is that you will get the occasional screen freeze or streaming artifact. There are some compatibility hiccups too. Therefore, the experience won’t be perfect, but for some exclusives, it might be worth it.
Conclusion
In conclusion, Should you buy the Oculus Quest? If you want a VR Headset that is stand-alone with no gaming PC required, has only the highest quality of games, doesn’t have cables around you for you to trip on, and is a lower price than the HTC Vive Pro, than the Oculus Quest is for you. That said, the cost might still be prohibitive for your budget, the games are a limited at this time, graphics aren’t as good as those from a Gaming PC, the Screen Door Effect and God Rays are still present, and previously purchased games from Steam VR will need to be repurchased. Will you purchase the Oculus Quest, or will you wait for another headset down the road?